

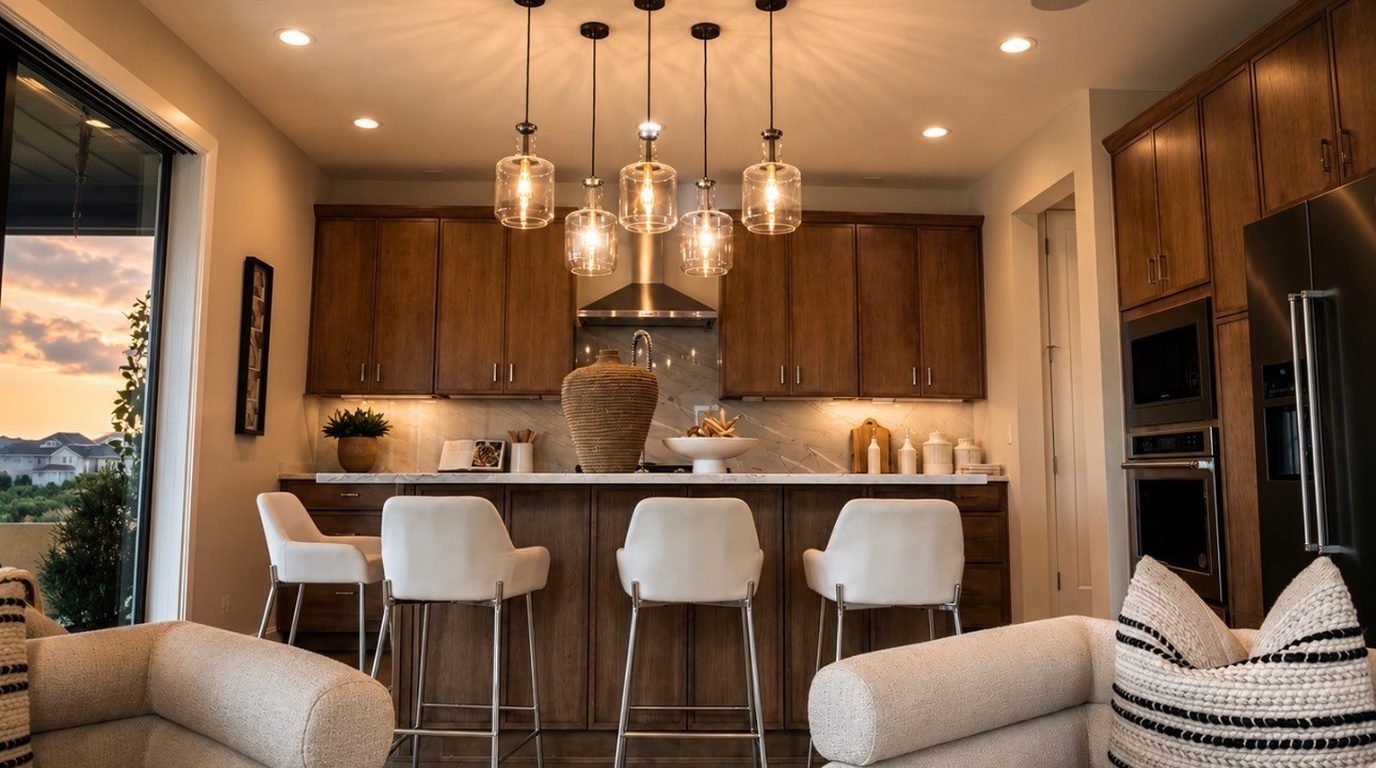
Few upgrades change how a home feels as much as lighting. The right fixtures make a room brighter, warmer, and more functional — and thoughtful lighting outside adds curb appeal and safety after dark. But "just installing a light" covers a lot of ground, from swapping a single fixture to wiring a whole new circuit. This guide walks through the most common lighting and fan projects homeowners take on, what each one involves, and when it's worth calling in a pro.
Light fixture installation
Light fixture installation is the bread and butter of home lighting: replacing an old ceiling or wall fixture with something new. If you're swapping a fixture where wiring already exists, the job is relatively straightforward — turn off the breaker, disconnect the old unit, and match the wires (typically black to black, white to white, and ground to ground).
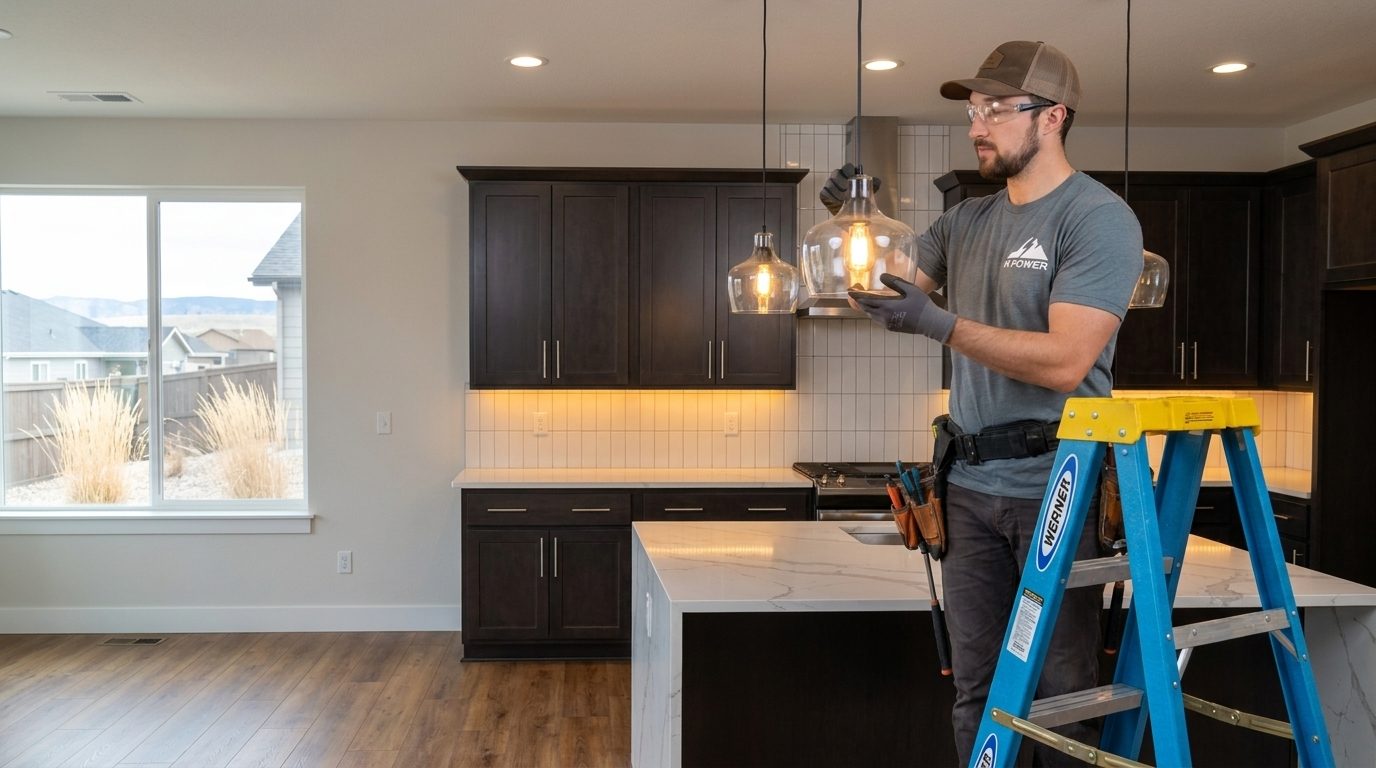
The complications come with weight and wiring. Heavy fixtures like chandeliers need a fan-rated or properly braced electrical box to support the load, and older homes may have wiring that isn't grounded. Adding a fixture where none existed before means running new cable and, often, cutting into the ceiling — that's where a professional saves you time and headaches.
Recessed lighting installation
Recessed lighting — the "can" or canless disc lights set flush into the ceiling — gives a clean, modern look and even, glare-free light. It's a favorite for kitchens, living rooms, and hallways.
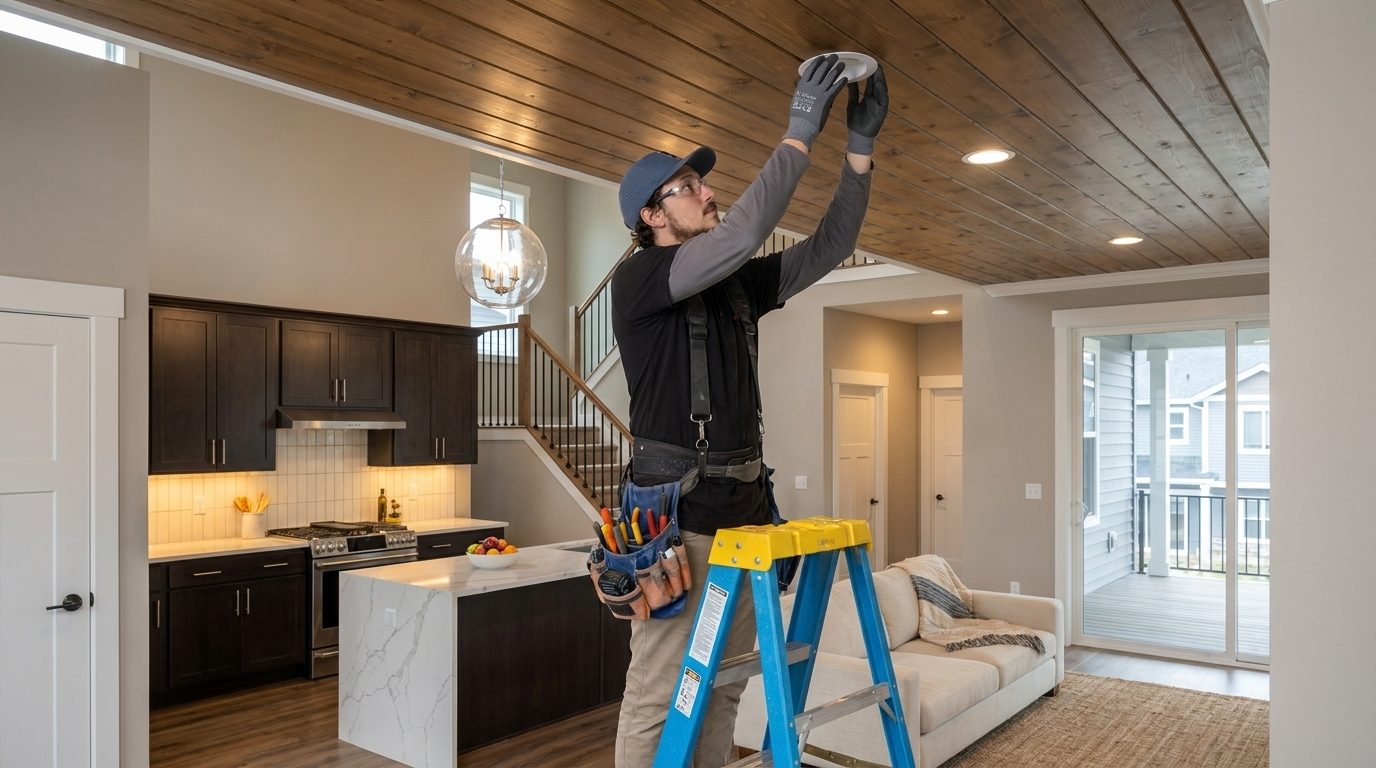
Installing recessed lighting is more involved than a simple fixture swap: you're cutting multiple holes in the ceiling, running wiring between each light, and tying everything into a switch. In finished ceilings, remodel-style (retrofit) fixtures are designed to clip into a hole without attic access, which helps, but planning the layout and spacing matters as much as the wiring. Get the placement wrong and you end up with dark corners or a ceiling that looks like a runway. This is one many homeowners hand off to a pro for a clean result.
Ceiling fan installation
Ceiling fan installation comes with a catch that trips people up: a fan cannot hang from a standard light-fixture box. Fans wobble and vibrate, so they require a fan-rated electrical box that's braced to a joist to handle the movement and weight.
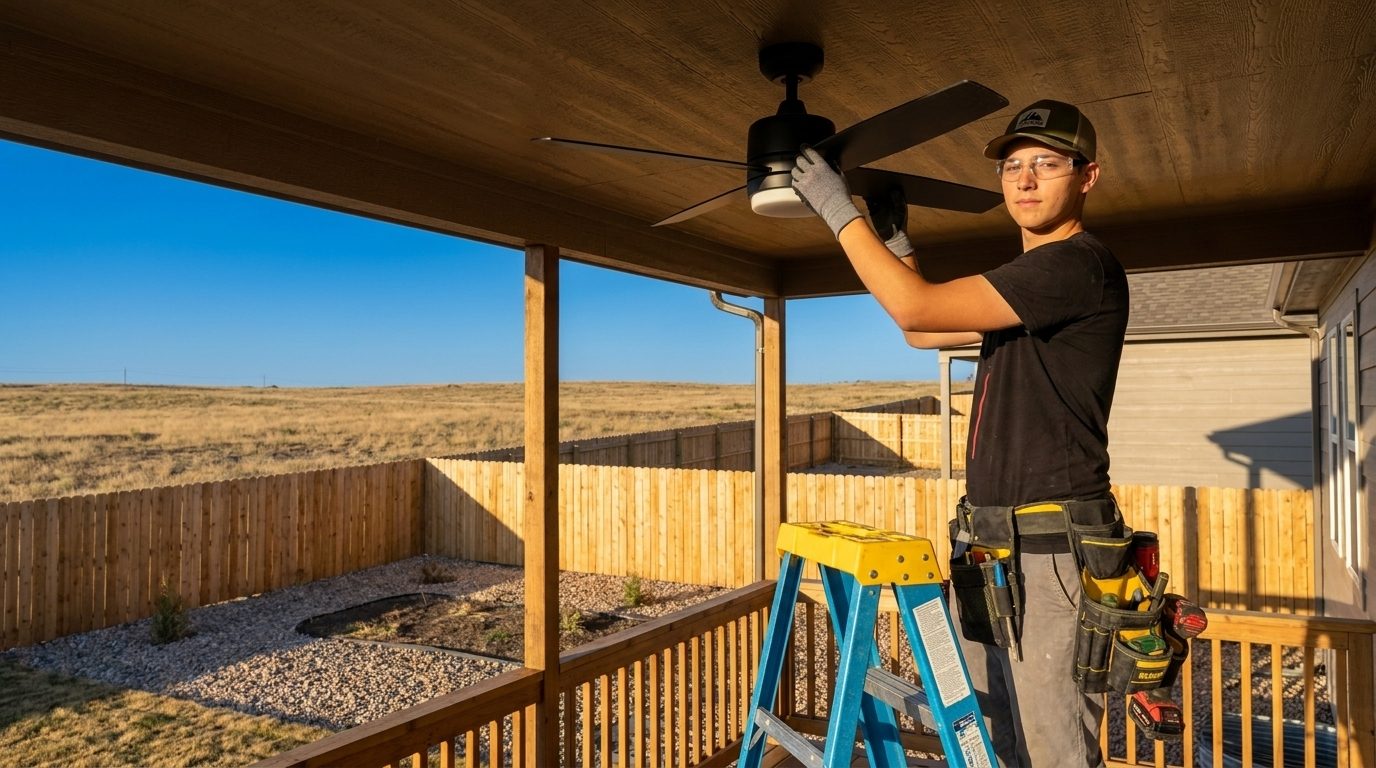
If you're replacing an existing fan, you may be able to reuse the box; if you're converting a light-only fixture to a fan, the box almost always needs to be upgraded. Add in wiring for separate fan and light controls (or a remote), and blade balancing, and you can see why this is a popular project to get help with. Done right, a ceiling fan cuts cooling costs in summer and, reversed, pushes warm air down in winter.
Under-cabinet lighting installation
Under-cabinet lighting installation is a smaller project with an outsized impact — it eliminates the shadows your upper cabinets cast on the countertop and makes a kitchen feel finished. You've got two broad routes.
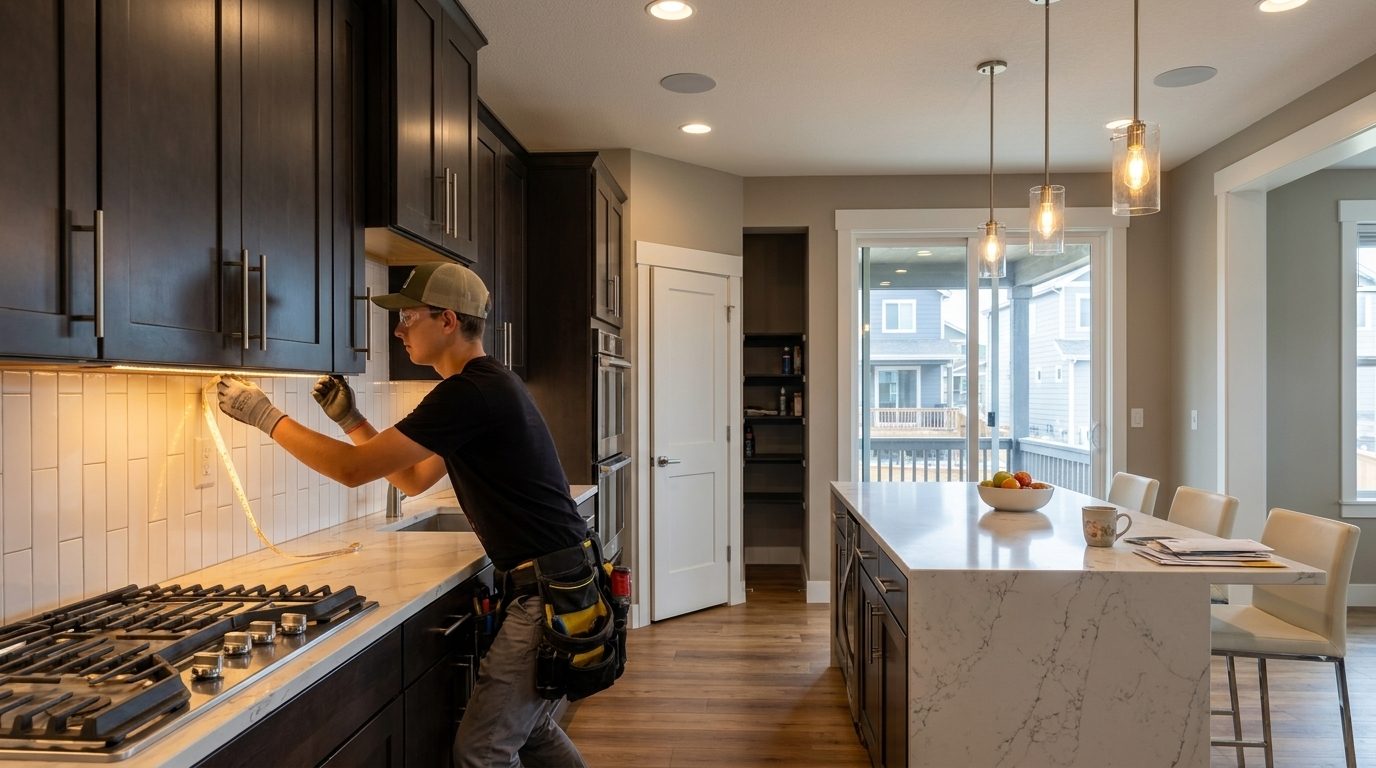
Plug-in or battery LED strips and puck lights are the easy, no-wiring option and great for renters. Hardwired under-cabinet lighting looks cleaner because the wiring and any transformer are hidden, and it can be tied to a wall switch, but it involves fishing wire behind the backsplash and into the cabinets. The hardwired version is where a pro earns their keep, especially if you want everything on a dimmer.
Outdoor lighting installation
Outdoor lighting installation covers everything attached to the house: porch lights, wall sconces, garage and floodlights, and motion-sensor security fixtures. Beyond looks, it's about safety — lighting entries, steps, and dark corners of the property.
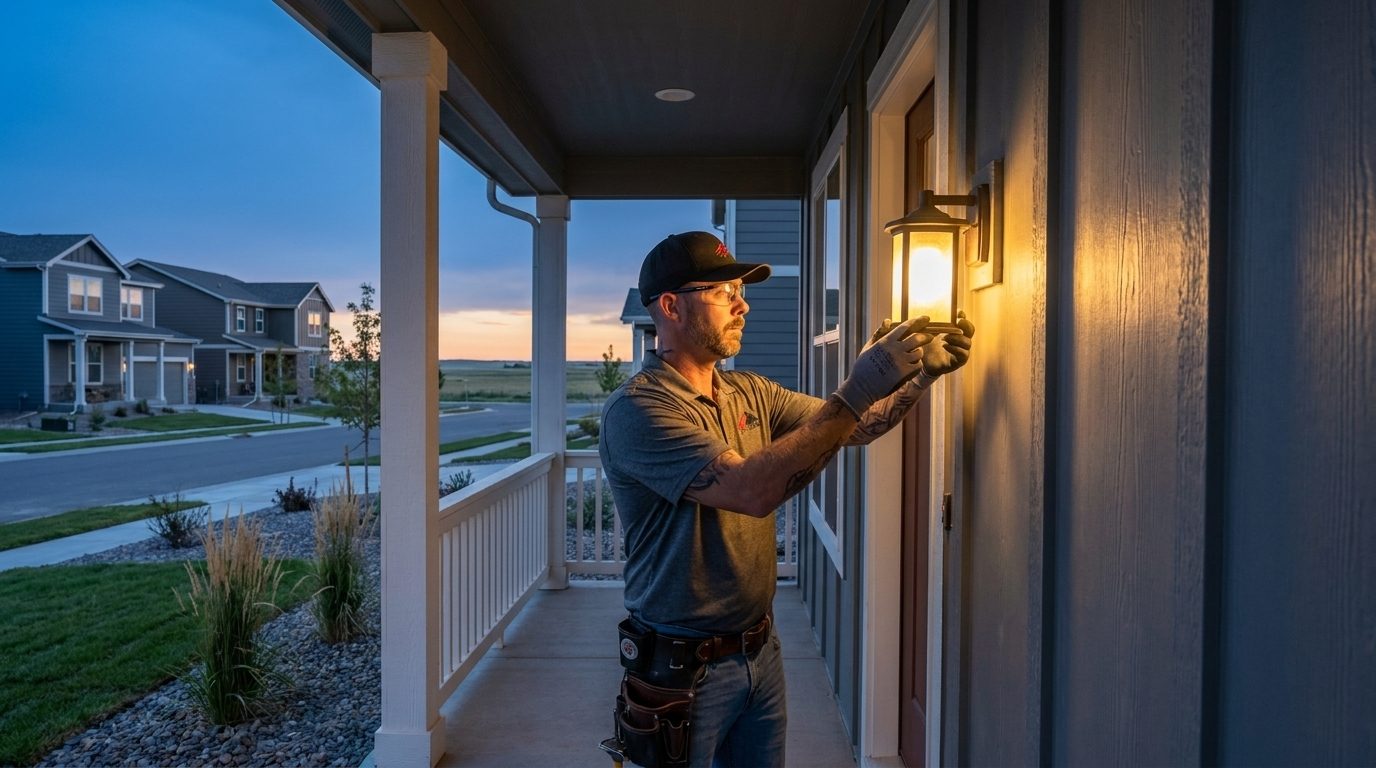
The key differences from indoor work are that outdoor fixtures and boxes must be rated for wet or damp locations, and exterior circuits should be protected by a GFCI to guard against moisture. Any new exterior outlet or fixture needs a weatherproof, in-use cover. Because you're mixing electricity and the elements, this is an area where code compliance really matters.
Landscape lighting installation
Landscape lighting installation is the yard-level cousin of outdoor lighting: path lights, uplighting on trees, and accent lighting on the house or garden features.
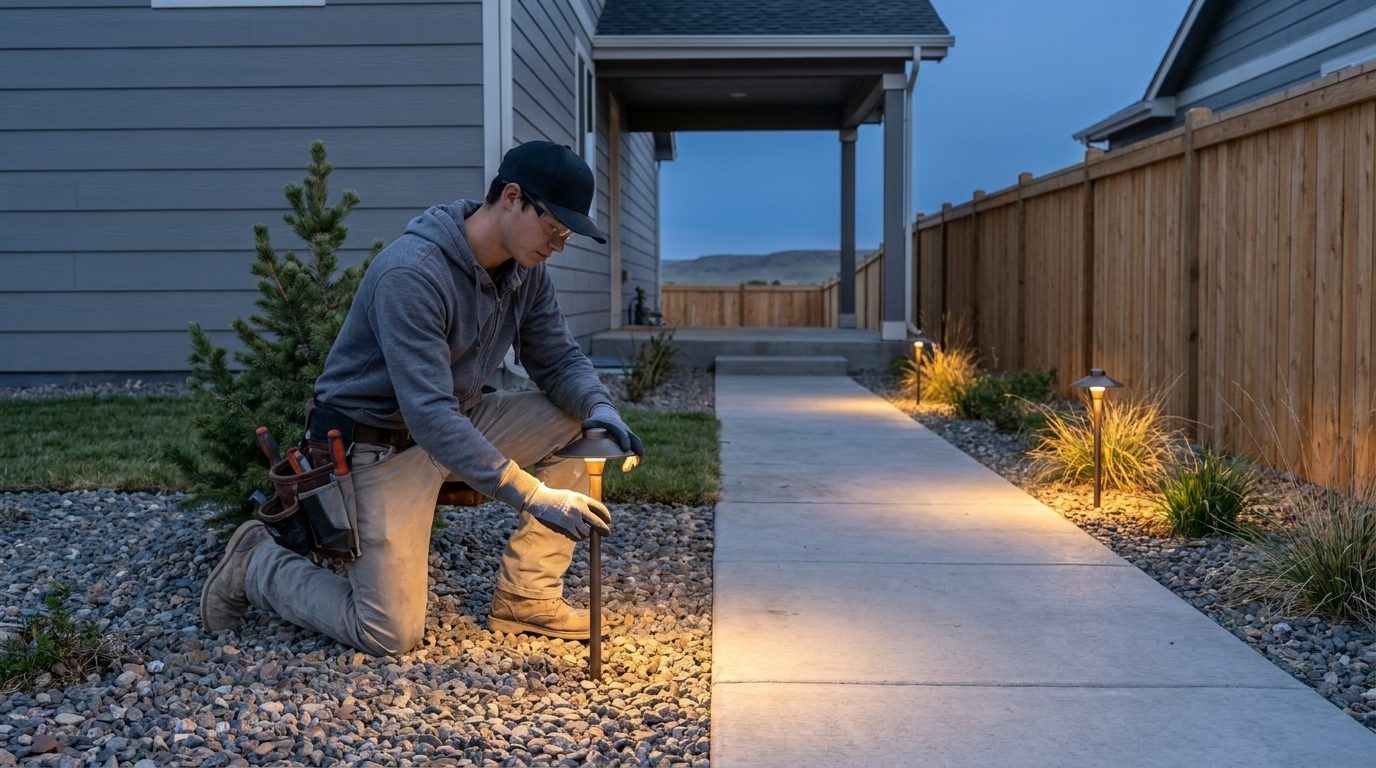
Most modern landscape systems run on low-voltage (12-volt) power through a transformer that plugs into a standard GFCI outlet, which makes the wiring itself safer and easier to work with than line-voltage. The art is in the design — layering light to highlight the best features of your yard without creating glare — and the main installation work is running and burying cable and setting the transformer on a timer or photocell. Solar path lights are the simplest entry point, but a wired low-voltage system is far more reliable and controllable.
Smart lighting installation
Smart lighting installation lets you control lights by app, voice, or schedule, set scenes, and dim without ever touching a switch. But "smart lighting" isn't one thing — there are a few very different ways to get there, and the one you choose shapes how flexible your home will be for years to come.

Here are the three main options and the honest trade-offs of each.
Option 1: Smart bulbs
Smart bulbs screw into your existing fixtures and connect over Wi-Fi or Bluetooth. They're the easiest entry point and popular with renters.
thumb_upPros
- No wiring or electrician needed
- Cheap to try in one or two rooms
- Per-bulb color and dimming control
thumb_downCons
- Cost adds up fast in fixtures with many bulbs
- Flip the wall switch off and the bulb loses power — "smart" control stops
- Not practical for recessed cans or multi-socket fixtures
- You're managing a lot of individual bulbs
Option 2: Smart switches and dimmers (non-modular)
These replace the wall switch itself, so every bulb on the circuit stays controllable and the switch still works normally by hand. It's a cleaner, whole-room solution than bulbs.
thumb_upPros
- Controls all lights on the circuit at once
- Works with ordinary (cheaper) bulbs
- Keeps the familiar wall-switch experience
- One device per room instead of many bulbs
thumb_downCons
- Requires wiring and often a neutral wire older homes lack
- Feature set is fixed — a new capability later means ripping out the whole switch
- Mixing brands can mean juggling multiple apps
Option 3: Modular smart switches (like Deako)
Modular systems such as Deako take a different approach: an electrician installs the switch base once, and the actual control — a simple on/off, a dimmer, or a fully connected smart module — snaps into that base. Because the modules are interchangeable, you can start basic and upgrade or personalize any switch later in seconds, without an electrician and without touching the wiring.
thumb_upPros
- Future-proof — swap in new features instead of rewiring
- Personalize room by room (dimmer here, smart control there)
- Consistent look and system across the whole home
- Upgrades are tool-free and take moments
- Great fit for new builds and renovations with the wiring open
thumb_downCons
- Higher upfront cost than a single basic switch or bulb
- The initial base install should be done by a pro
- You're choosing one system for the home rather than mixing components
Smart bulbs are the easiest to try, non-modular smart switches are a solid whole-room upgrade, and a modular system like Deako is the choice if you want to set your home up once and keep evolving it for years — no rewiring required. If you're building or renovating and the walls are already open, that's the ideal moment to put in a foundation you can build on.
DIY or call a pro?
A lot of lighting work is genuinely DIY-friendly — swapping a fixture, installing plug-in strips, or screwing in smart bulbs. The line to watch is anytime a project means running new wiring, adding a circuit, upgrading a box, working outdoors, or touching your electrical panel. Those touch on safety and local electrical code, and mistakes are both dangerous and expensive to undo.
That's the piece Hi Power handles. Whether you're adding recessed lights across a whole floor, converting fixtures to ceiling fans, wiring outdoor and landscape lighting, or moving to smart switches, we make sure the wiring behind your lighting is done safely, to code, and ready for whatever you add next.
